Video hosting for mobile apps
Deliver smooth, high-quality video experiences directly inside your iOS and Android apps with Cinema8’s secure hosting platform. Upload content through the dashboard, API, or bulk import, and manage everything in a central video library. Customise players to fit your app’s design, apply subscriber-only restrictions for premium content, and track viewer engagement with analytics. Scalable infrastructure ensures your app performs smoothly as your audience grows.
Trusted by leading brands around the world


Power your iOS and Android applications with Cinema8’s video hosting. Upload videos through the dashboard, API, or bulk import, then manage them in a secure library ready for in-app playback. Cinema8’s adaptive streaming delivers smooth performance across devices, while branded players ensure your videos fit seamlessly within app interfaces. Protect subscriber-only or premium content with privacy controls like tokens or restrictions, and monitor engagement with analytics to see how users interact with video inside your app.
How to host mobile app videos with Cinema8’s tools
Integrate fast, secure, and branded video hosting into iOS and Android apps with Cinema8’s scalable platform.
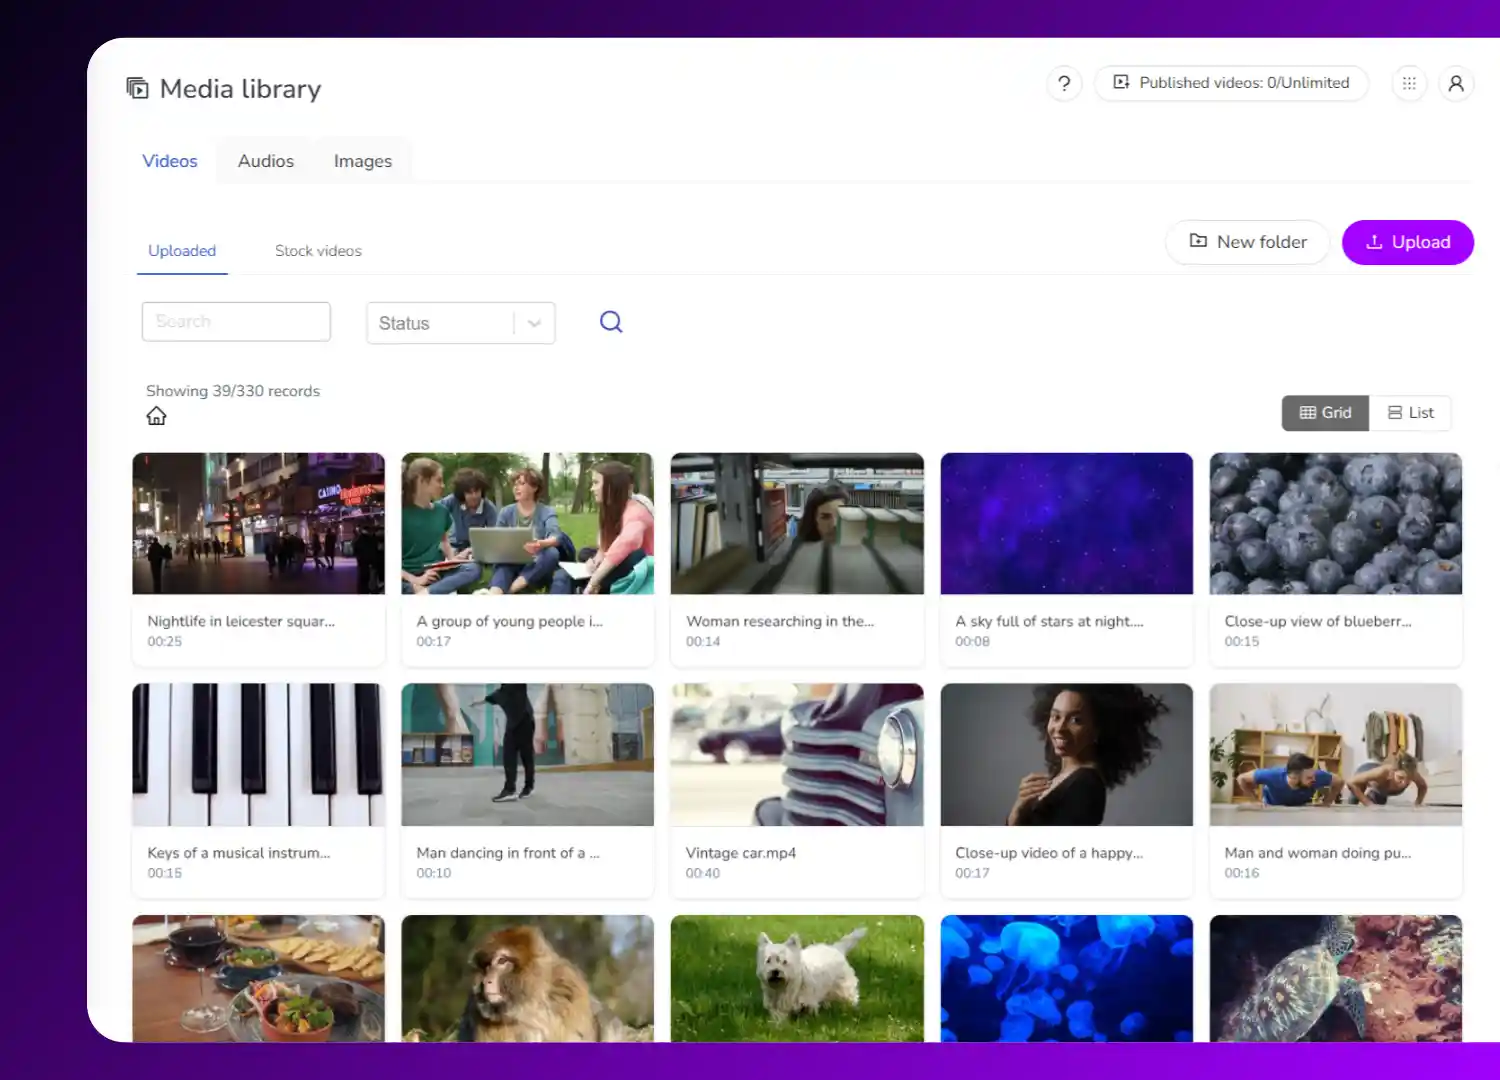
Upload your videos to Cinema8 via the dashboard, bulk import, or API. Organise them in a secure library ready for smooth in-app playback.
Customise your video player to match app design, add captions or transcripts for accessibility, and apply subscriber-only restrictions or token-based security.
Embed videos directly into mobile app interfaces using Cinema8’s tools, then track engagement with analytics to refine content and user experience.
Why use Cinema8 for mobile app video hosting?
Cinema8 enables app developers and businesses to deliver seamless, high-quality video experiences inside mobile applications. With adaptive streaming, secure hosting, and branded players, you can protect premium content while ensuring videos blend into your app’s design. A centralised video library and APIs simplify management, while analytics provide insights into user engagement. Scalable infrastructure supports apps with growing audiences, from fitness platforms to education and entertainment.
How Cinema8 video hosting supports mobile apps
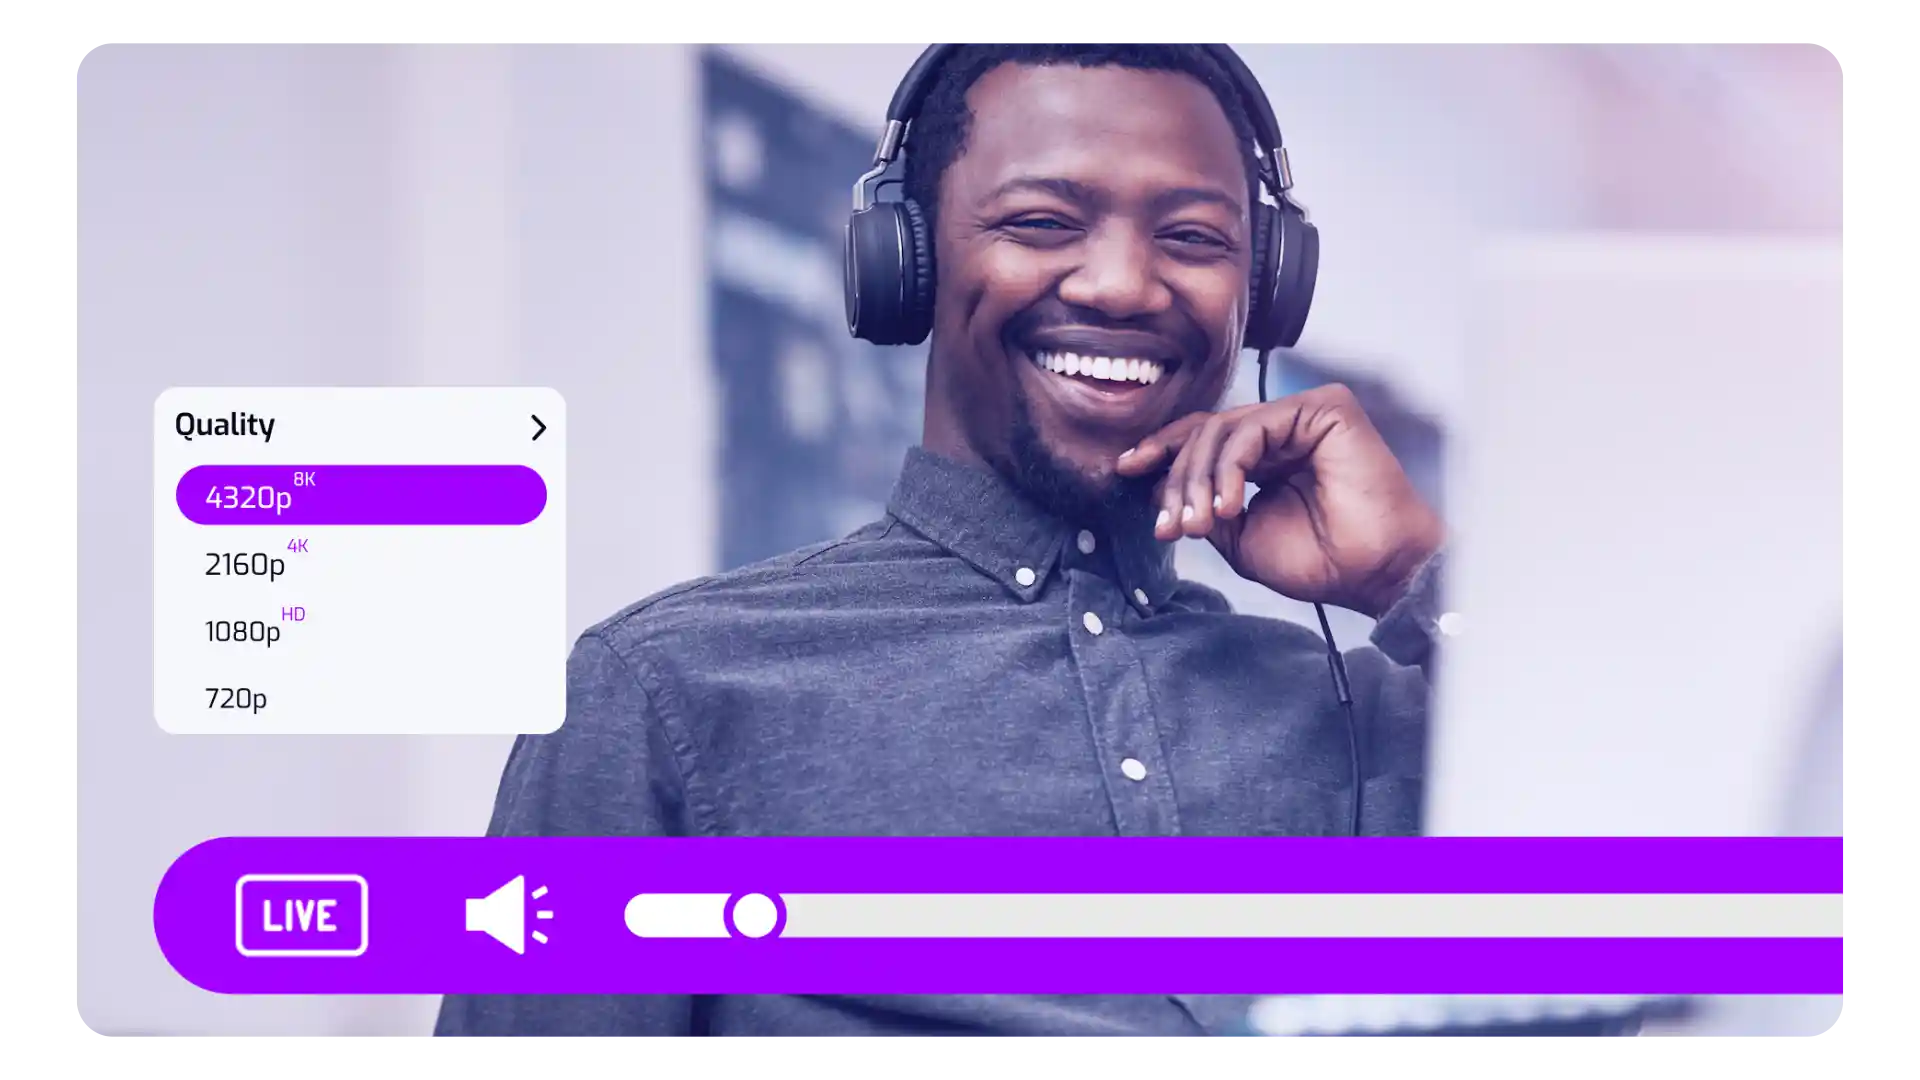
Adaptive streaming for smooth in-app playback
APIs and SDKs for seamless integration
Subscriber-only access with advanced privacy controls
Deliver professional workout videos directly inside your fitness app. Protect premium sessions with subscriber-only access, track engagement through analytics, and scale seamlessly as your community of users grows.
Host and organise educational content in a secure library for students. Add captions and transcripts for accessibility, and enrich learning with optional interactive features like quizzes or pop-ups inside your app.
Stream movies, shows, or entertainment content in high quality across iOS and Android. Use adaptive streaming for smooth playback, protect exclusive content, and analyse viewer data to optimise programming.
See why developers trust Cinema8 for in-app video hosting
During travel restrictions, Cinema8 proved valuable as a tool. Its platform offered straightforward yet complete tools, allowing us to give virtual demonstrations of our solutions in a secure and efficient way.
Jay Yalung
Art Director, Marketing and E-Commerce / Leica Geosystems
Cinema8 software engaged and motivated students with 360-degree videos at the Tate Gallery, featuring past student projects. Staff support was responsive and helpful with training. A valuable tool for educational institutions.
Chi-Ming Tan
Unit Lead Lecturer LCCA / London College of Contemporary Arts
Cinema8 has been instrumental in compiling all of the videos for a research project on employment for the blind or visually impaired, by offering an easy-to-use web-based platform for building Interactive Videos.
Sarah Moody
Communications Coordinator / Mississippi State University
Cinema8 was chosen for its ease of use and ability to create interactive videos through an intuitive interface. The team received great support and reasonable pricing. leading to a renewal of their partnership. Cinema8's support helped them meet project deadlines.
Michel Sohel
Media Consultant / Eastern Michigan University
Starter
$12
per month billed annually
Everything in Free, plus:
- Lead gen forms with CRM/email integration
- 360 degree interactive video support
- Unlimited screen recording
- Customisable video player
- 1TB bandwidth
Recommended
Pro
$24
per month billed annually
Everything in Starter, plus:
- Sticky hotspots for moving objects
- AI chaptering + SEO metadata
- AI-powered speech search
- Video heatmaps + advanced reports
- 2TB bandwidth
Pro Plus
$84
per month billed annually
Everything in Pro, plus:
- FTP upload for video libraries
- Webhook-based event notifications
- Domain restriction
- Priority + dedicated support
- Unlimited seats