Creating a reliable video studio gives you full control over how your brand looks, sounds and feels on screen. This guide walks you through the practical steps to design and set up your own recording space, from choosing the right room and lighting to achieving professional sound and workflow efficiency, so you can produce consistent, high-quality video content at scale.
Why your own video studio changes everything
A dedicated studio transforms how you work. Instead of reorganising equipment for every shoot or battling inconsistent conditions, you create a space designed for repeatable quality. Brands, educators and creators who invest in a personal setup save time, stabilise production costs and maintain visual consistency across every series or campaign.
The more you remove friction, the easier it becomes to focus on the story rather than the logistics.

How to set up your video studio step by step
Building a studio for your video series isn’t about having the biggest space or the most expensive equipment; it’s about getting the fundamentals right. Whether you're going to be creating an explainer video, a cinematic film, or anything else, the goal is to create a setup that feels effortless to use and delivers consistent results every time. Below are the core steps to focus on as you build a professional studio environment that supports your goals and workflow.
1. Choose a space that supports your workflow
Start with the right location. Choosing a studio that gives you the most control over each shoot is much more important than specifically focusing on the size of the studio. A quiet office or spare room can outperform a large open space if it’s acoustically stable.
Avoid rooms near corridors or busy streets. Sound behaves unpredictably in untreated environments and reflects off hard surfaces, which no amount of editing can fully correct. If professional soundproofing isn’t realistic, simple acoustic panels, thick curtains and rugs can absorb reflections effectively.
A well-chosen room makes post-production easier, reduces editing time and improves sound clarity. Remember:
- Pick a rectangular room where sound behaves predictably
- Use heavy curtains or panels to control echo
- Avoid spaces near corridors, lifts or street-facing windows
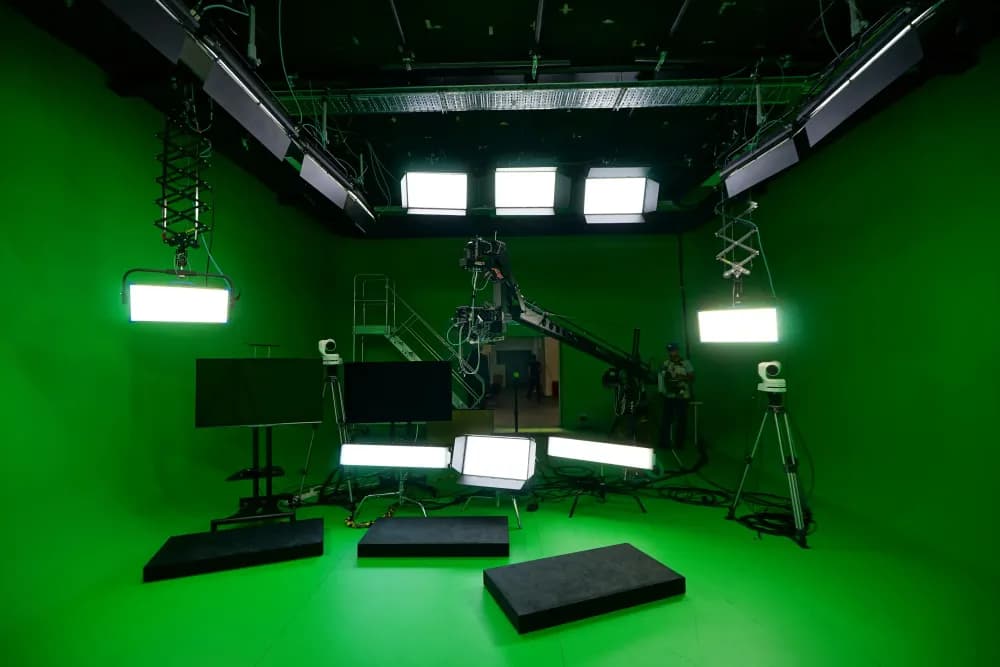
2. Design lighting that stays consistent
Lighting is where professionalism becomes visible. You’re aiming for repeatable, soft, flattering illumination that removes the need for heavy correction in post-production.
- Most creators rely on a simple three-point lighting setup to achieve balance:
- Key light: the primary, directional source
- Fill light: softens shadows
- Backlight: adds depth and separates the subject from the background
The exact fixtures matter less than the quality of light they produce. LED panels or softboxes with adjustable colour temperature provide flexibility throughout the day. If natural light enters your space, treat it as a secondary source rather than a variable to manage. Consistency in lighting makes your series look unified from episode to episode.
For brands managing frequent campaigns, a reliable video hosting solution for marketing teams
helps centralise and distribute videos without losing control over quality or brand standards.
3. Select a camera that fits your style
You don't need the most expensive camera on the market to get good shots. As long as you know what you are doing and can control the camera effectively, even somewhat basic cameras can do an excellent job.
Whether you’re filming with a DSLR, mirrorless camera or even a modern smartphone, manual settings are essential. They allow you to lock in exposure, white balance and focus, ensuring your footage looks the same every time you record.
Shooting in 4K offers flexibility for cropping and stabilising during editing, though 1080p still delivers excellent results if your setup is lighter. Pair your camera with a lens that suits your framing. A 35mm or 50mm prime lens offers natural perspective for most talking-head setups, creating a sharp image with soft depth of field.
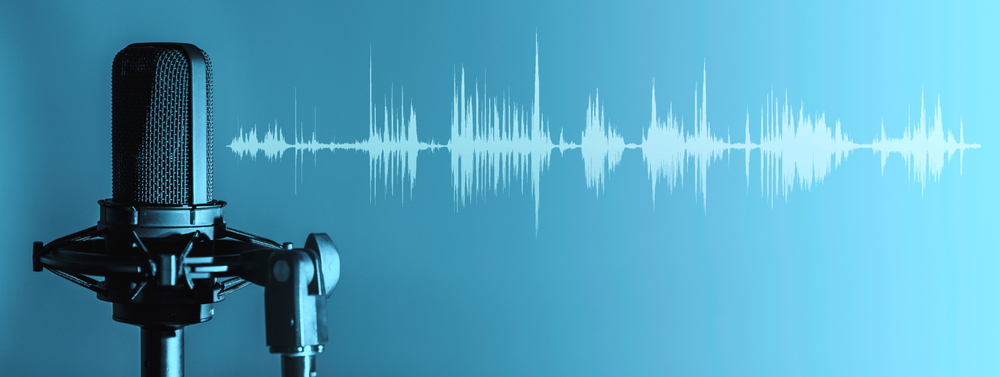
4. Capture sound as clearly as you see it
Sound quality determines whether viewers stay engaged. Even with perfect visuals, poor audio can make content feel amateur. External microphones are essential for clear sound.
Depending on the type of content you’re filming, consider:
- Lapel mics for interviews or presentations
- Shotgun mics for directional capture
- Condenser mics for voiceovers or studio narration
Good sound treatment turns even a modest room into a professional recording space. Curtains, foam panels or freestanding sound shields absorb reflections and prevent the hollow tone that cheapens production.
5. Stabilise your shots with intention
A tripod adds precision and consistency to your work. Handheld footage can look authentic in short clips, but a steady frame projects authority for long-form content such as tutorials or brand interviews.
Mark your tripod and camera positions on the floor once you’ve found the right setup. This allows you to replicate framing for each shoot and maintain uniform composition across your series.
6. Build an editing environment that keeps up
Your editing setup should support the same consistency as your recording space. Aim for a computer with at least 16GB RAM, a modern processor and dedicated graphics support. This ensures reliable playback and smooth rendering.
Professional editing tools such as Adobe Premiere Pro, Final Cut Pro or DaVinci Resolve provide the flexibility to control pacing, tone and correction. Keep all footage and assets organised in labelled folders, and back them up regularly to cloud storage or external drives. An organised system is one of the most underrated contributors to production speed.
7. Create backgrounds that feel intentional
A good background reinforces your message without distraction. Use neutral colours and simple décor that complements your subject. A plant, artwork or product can add texture without drawing attention away from the content.
Many creators use shallow depth of field to keep the subject sharp while maintaining subtle movement or light in the background. If using a green screen, make sure the lighting is even to avoid post-production issues.
8. Keep your power, storage and backups under control
Production can come to a halt if power or storage runs out. Keep multiple charged batteries ready before each shoot and rotate SD cards or drives regularly. Label everything clearly.
Create a simple backup routine to protect your work:
- Copy footage to a local hard drive immediately after recording
- Sync to a cloud platform, upload to a video hosting platform, and/or store on a secondary drive
- Archive completed projects monthly for safe storage
- These habits prevent data loss and keep your workflow efficient.
9. Design for repeatability and scale
Your studio should support creativity without needing to be rebuilt each time. Once you’ve set up your camera angle, lighting and microphone placement, mark the positions with small stickers or tape. This lets you reproduce the same look and sound every time you record.
This repeatability builds confidence. It removes technical friction and allows you to focus on the ideas you’re communicating, not the setup.
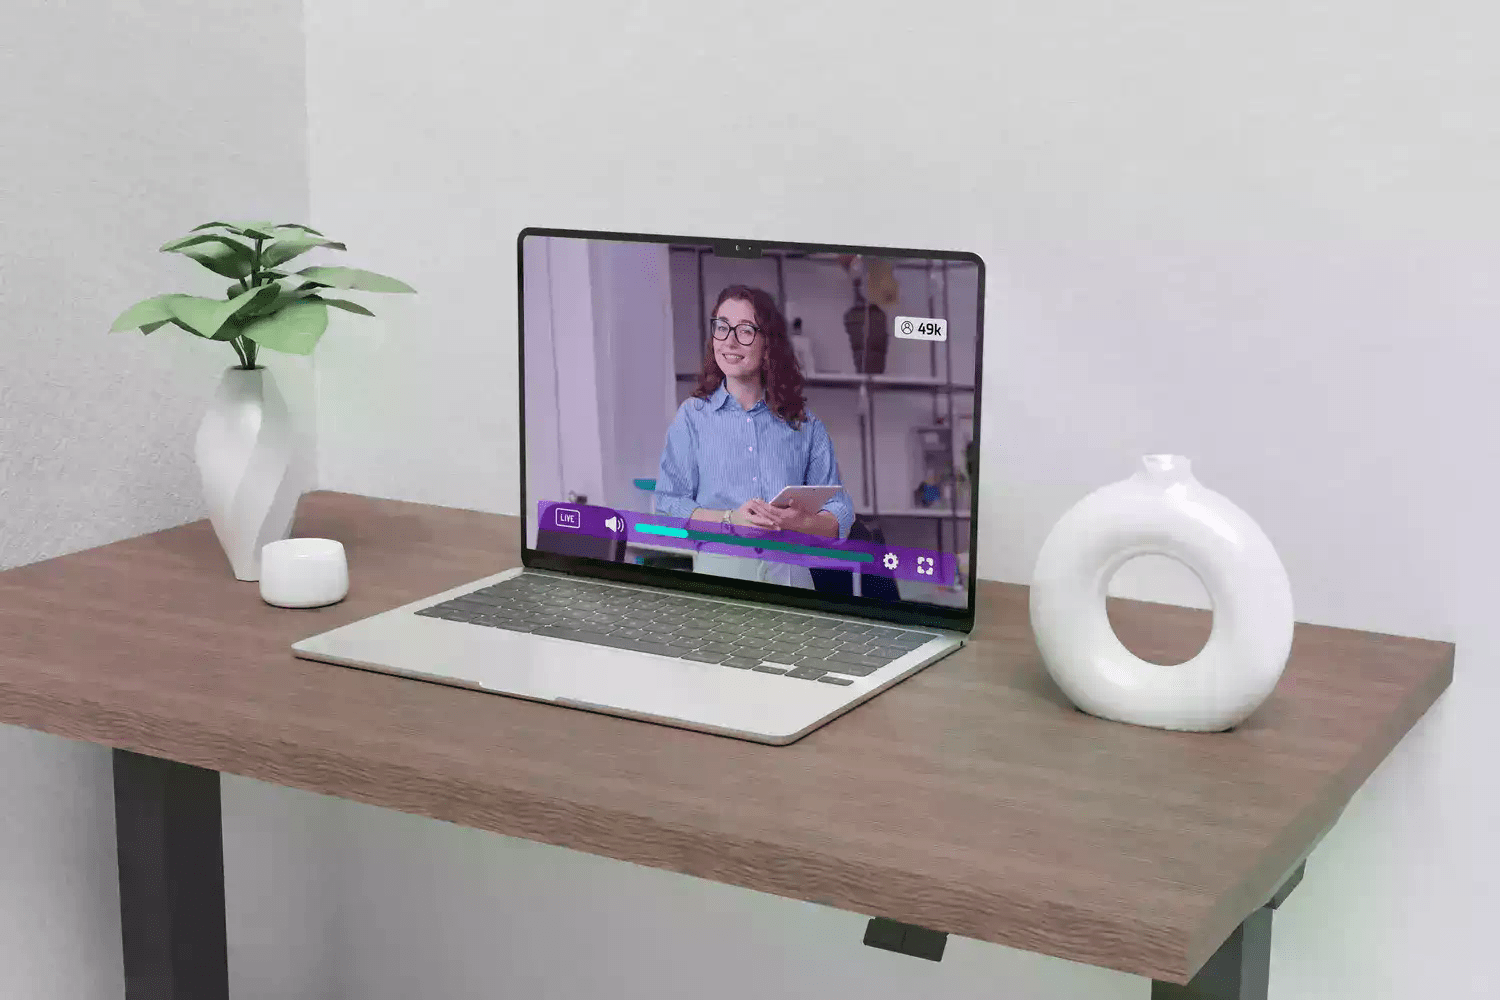
10. Extend your studio’s impact with smarter hosting
Once your videos are complete, consider how you’ll distribute them effectively. Uploading to a standard platform works, but professional teams often need to track performance and capture results.
Cinema8 is video hosting and interactive video platform built for content creation agencies, marketing teams, and businesses. It helps turn studio-quality content into measurable outcomes through:
- Lead generation forms directly in your videos
- Clickable CTAs and booking widgets for immediate viewer action
- Analytics and heatmaps that reveal engagement patterns.
Common pitfalls to avoid when setting up a studio
Studios often fail due to small oversights. Check lighting colour temperature before each shoot to avoid mismatched tones, lock exposure and white balance manually, test audio before every session rather than assuming yesterday’s settings will still work, and avoid relying on automatic focus (as it often misjudges movement).
Final thoughts on building a studio for your video series
A strong studio setup changes how you create. It gives you the structure to produce content consistently and the confidence to experiment with new formats. Once your space is reliable, you stop troubleshooting and start refining how you communicate your message.
A dependable workflow supports creativity. It gives every project a clear starting point and helps you develop a visual language your audience recognises and trusts.
With intelligent video hosting tools like Cinema8, your control extends beyond production. You can measure performance, understand engagement and turn every video into actionable insight. Your studio then becomes a foundation for growth, not just a place to film. Get started with Cinema8 today or contact our team to learn more about how our tools can benefit you.