
Methods Of Shooting An Overhead Video
Many of us have become very familiar with the overhead shooting style unless you've been completely far from the internet for the last few years. Overhead shooting first gained traction with BuzzFeed's "Tasty" series and on Instagram, in which they posted step-by-step recipes, phone tutorials, and unbox videos shots from above.
The overhead video trend is not going anywhere soon, but beyond step-by-step demos, this shot will breathe new life into your company, and would provide a new taste to the content you make.
In this article, we'll go through three methods for successfully using the overhead video shot.
The Mirror Setup
This rig is a little more ambitious, but if you're doing a lot of overhead shooting, the time commitment might be worthwhile.
The ability to film the mirror from the ground is the key advantage of the mirror rig. From this vantage point, you can easily make camera changes, such as changing the zoom or focus. In post-production, you can correct the picture with a flip effect, and you've got yourself an overhead shot!
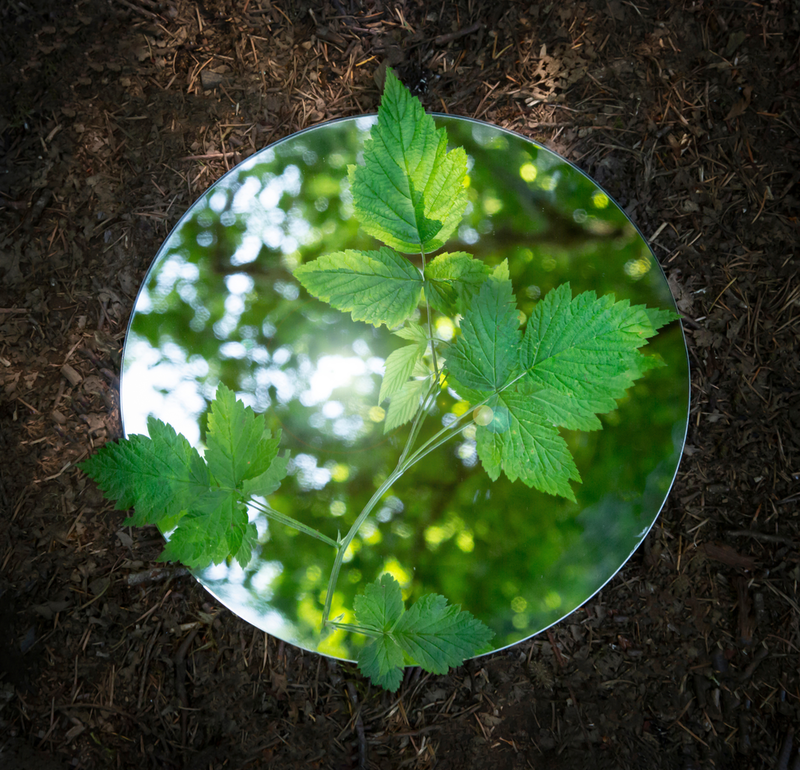
You can change a wood-frame mirror to create the mirror rig. You can do it yourself.
For Reflection;
- 2 ring brackets with splits
- 2 eye bolts that are screwed into the brackets
- 2" bolts and additional nuts
- Sandbags Drill Sturdy c-stand
Drill some holes in the frame and screw the brackets in place, leaving enough room for the c-stand crossbar. Then, using the eyebolts as fixed screws, you can change the angle of the mirror.
Make sure the mirror frame is tight and safe, and use sandbags on the c-stand.
It's all about getting the correct height and angle with the mirror overhead. To begin, place the mirror above the table at about a 45-degree angle. A zoom lens is important here because it helps you to take large and close-up shots without having to move your camera or the rig. This allows you to get a range of shots from the same perspective.
Your raw video will be replicated. However, correcting for this is as easy as using a filter in any video editor. You can use these tips in your next film.
Perhaps you won't be doing any video demonstrations shortly, but you may want to surprise your viewers now and then with an interesting new vantage point. The overhead shot, when done correctly, can be a delightful addition to any type of video.
The Large Tripod
Raising your tripod skyward and pointing it down is the easiest way to aim from above. It will never point exactly 90 degrees downward, but it will get you near in most cases.
Place the tallest tripod you have as close to the table or surface as possible, with the tripod head pointing down. Bring the tripod legs closer together if you need more height, or consider placing the front two legs on whatever table or surface you're using.
The Boom Pole Method
Another choice for placing a camera directly overhead is to use a monopod in conjunction with a boom pole holder.
You will need the following things to complete this technique:
- Grip head and boom pole holder
- The monopod (you could also use a tripod)
- This c-stand is a solid light stand.
- Bags of sand
- Slip the monopod into the boom pole holder after clipping the camera to the monopod.
Check that everything is securely fastened, from the camera mount to the grip head. Using sandbags to weigh down the boom pole stand as well, as this rig will be very top-heavy. We've found that when shooting overhead, gravity can cause some zoom lenses to slip and lose focal length. To stop this, use a fixed lens, such as 24mm or 35mm, and change the light stand to get the correct framing.
With the camera so high up, it's difficult to keep track of your shot. Obtaining an external monitor, if necessary, will save you time and resources.
As a result, you can try three methods that we share to get the perfect headshot for your next video. Thanks to these overhead videos, you can reach a lot of clicks.