
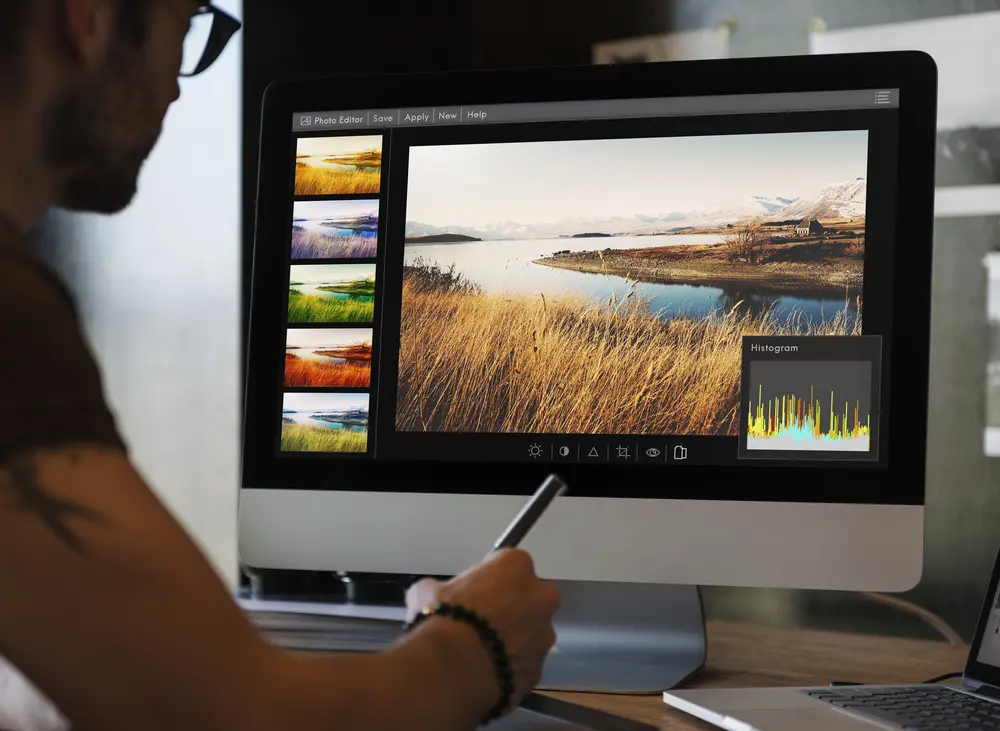
How to Optimize Your Image Size without Losing Quality
Whether you are creating a website, publishing a blog post, or running a social media platform for a business, images are essential. Users expect high-quality images of the right size. They are very important to make your website or brand look more professional and win the trust of users. Imagine that two e-commerce sites sell the same pair of shoes – the product screenshots of one site are blurry, while the screenshots of the other are very clear. Which are you most likely to purchase from? Images are also important in conveying important information to users.
In addition to affecting the user experience in these ways, images that are not properly optimized can also affect the performance of the website. Oversized, high-resolution images may look good on the front end, but their file size is huge. This means that the browser will take longer to load them, which will increase the overall load time of your website. Usually, this extra load time is unnecessary. Suppose your image size is 2000 x 2000 pixels, but the container you want to put it in is only 200 x 200 pixels. In this situation, even if the browser is limited to a smaller display area, it will still load every pixel. This means that the load of the browser must be ten times more than the load required.
When resizing an image, you should not set a standard width or height. It depends on diverse factors, including where you place it on the site, whether most visitors are using a desktop or mobile device, and so on. The general rule of thumb is that you want to strike a balance between the smallest file size and acceptable quality. Generally, the acceptable image file size should be 100KB or less.
Benefits Of Optimizing Your Image Size Without Losing Quality
Optimizing your image size without losing quality has many benefits. According to research, images account for an average of 21% of the total weight of a web page. Therefore, when optimizing your website, after the video content, the image is the first place you should pay attention to! This is more important than scripts and fonts. Ironically, a good image optimization workflow is one of the easiest things to achieve, but many website owners ignore this. Some benefits of optimizing image size include:
1. This can improve the page loading speed. If your page takes too long to load, your visitors may get tired of waiting and move on.
2. Combined with excellent SEO plugins, you can improve your SEO. Your website will also rank higher in search engine results. Large files will slow your website down, and search engines hate slow websites. Google may also crawl your images faster and index them for Google image searches.
3. Creating a backup will be faster.
4. Smaller image file sizes use less bandwidth. The web and browsers will appreciate this too.
5. You will need less storage space on the server (it depends on how many thumbnails you have optimized, though).
In order to optimize your image size without losing quality, do use the following tips:
1. Choose the right file format
Before optimizing your image size without losing quality, determine whether to save the image in the best file format. There are three generally accepted file formats on the web. Choosing the right file type for the page will go a long way in balancing size and quality. These include JPEG- you can use JPEG for photos, screenshots, and most other images. JPEG uses lossy compression, which means they sacrifice image data to reduce file size. You can use the quality setting to achieve the best quality too.
PNG- you can use PNG for images containing sharp geometric shapes because the rendering of curves and lines is clearer than JPEG. PNG uses lossless compression, which means they can retain all image data. Their file size will be larger than other formats. GIF- you can use GIF for animation, but avoid using this format for still images because it will limit the number of colors presented in the image.
2. Reduce the number of pixels
Each pixel in the image requires a certain number of bytes to encode. The fewer the pixels in the image, the smaller the file size will be. This fact does not mean that you should resize all images to 100 x 100 pixels. When you upload an image to the web, the image will eventually be stretched, and the quality will decrease. However, you can adjust the image size according to the website display size. If you want to upload an image to your website, find out the size of the displayed image, and then adjust the size of the image to be equal to or larger than the expected display size. Resizing can eliminate unnecessary pixels and can greatly reduce file size.
3. Make a note of the quality settings
When saving an image using an image processing application, it usually includes a slider to control the quality. This slider is usually displayed in a ratio of 1 to 100, and it controls the lossy compression of the image. In other words, it can help you determine how much image data to sacrifice to minimize file size.
If you are using JPEG, you will find that using the slider can relax your hands and feet. There is usually no obvious difference between images saved at 100% quality and images saved at 60% quality or even as low as 30%. In the above series of images, you must have a hard time seeing the loss of resolution, which is most obvious on a white background.
The best tool for image size optimization without losing quality
Now that you know several ways to optimize images without losing quality, you need tools to achieve it. A large number of software tools for resizing images without loss of quality are provided online. However, their range includes flexibility, output quality, user-friendliness, and price. Some of these include:
1. Adobe Photoshop
For smaller resize projects, you can easily use one of the many free apps. But for larger or more complex projects, it is strongly recommended to use paid applications such as Adobe Photoshop. Perfect for image resizing and optimization, Adobe Photoshop is the most popular advanced photo editing software. Professional photographers, editors, and web designers all over the world are using it. Any image resizing guide is incomplete without it. Although Photoshop is not a free tool, its products are well worth getting at its relatively low cost. Although it may take some time to process the resized pixels of an image, it is still relatively easy to use despite the rich features provided by Photoshop.
The best Photoshop method to resize an image without losing quality is "perfect resize." Perfect Resize is extremely easy to use and can automate the re-sampling process to provide you with a perfectly resized image with the same level of quality. To use "Perfect Resize," first, open the resized image in the app. Then click "File," and then select "Perfect Resize." This will open the "Perfect Resize" window, where you can choose from a series of preset resize templates, or you can enter your own size. After making your choice, simply click on the file and apply to complete.
2. Gimp
If you are looking for free image optimizing software, Gimp is one of the most popular choices. Gimp is a free alternative to Adobe Photoshop and can be used to optimize images without reducing the quality. To resize an image with Gimp, just open the image in the app. Go to the image, then zoom, where you can enter the size you want. Finally, under "Quality," select "Sinc" as the interpolation, and click "Zoom." With it, you can adjust the size of the image and maintain stable quality.
3. IrfanView
Irfanview is an excellent multimedia tool whose function is much more than simply adjusting the image size. Although Irfanview is only available for the Windows operating system, it is a practical and fast tool, thanks to the very few system resources required to adjust the size of large image files.
To resize an image with Irfanview, open the image in the app, then select the image resize/resample option. A resize pop-up window will appear, and you can enter your desired size in it. Next, choose Resample and choose Lanczos (the slowest). Finally, don't forget to select the "Apply sharpening after resizing" option, as this will give you the best results.