Form Designer Element
With the Form Designer element, you can add forms to any area of your video and collect information from your viewers. However, before you can add forms with the form designer element, you must create your form.
Creating Forms for the Form Designer Element
We said that you need to create a form to add forms to your projects. Let's look at how you can create a form.
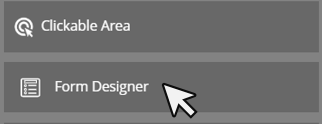
First, return to the main menu and click on the "Tools" button.
Then, click the "Form Designer" button on the page that opens.
Click the "New Form" button to create a new form here.
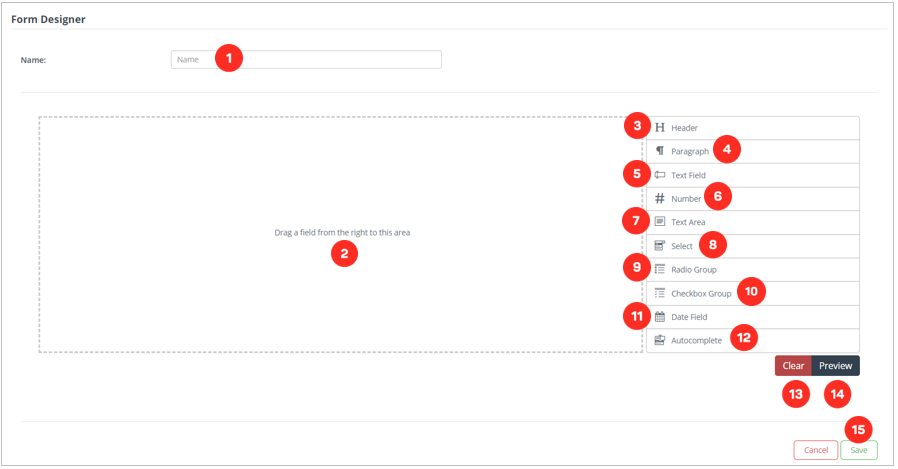
1. The field where you will enter the name of the form you will create.
2. The area where you will drag and drop the tool you want to add from the menu on the right.
3. Tool that allows you to add a title to your form.
4. A tool that allows you to add paragraphs to your form where viewers can enter long texts.
5. The tool for specifying the number of characters to enter in your form, where the viewer can enter text.
6. It allows you to add a tool that can only enter number characters on your form.
7. It allows you to add a tool to your form where you can specify the number of lines and where viewers can enter text.
8. It allows you to add a collapsible tool to your form, from which the viewer can select only one option.
9. It allows you to add a tool to your form where you can select options, from which the viewer can select only one option.
10. It allows you to add a tool to your form where you can select options, where the viewer can select more than one option.
11. Adds a tool to your form where you can get only date values from the viewer.
12. It allows you to add a tool to your form that completes the text entered by the viewer according to the words you previously defined.
13. It allows you to delete all the tools you have added to the form and clean them.
14. You can preview the tools you added to the form and see their positions and how they stopped.
15. It allows you to save the form you prepared.
Adding Form to Video
After preparing your form, add the form to the video with Form Designer from the Elements list.
First of all, we drag and drop our element from the Elements list to the layer. Here comes the list of forms we have created before. If you have not created a form before, this list may appear empty.
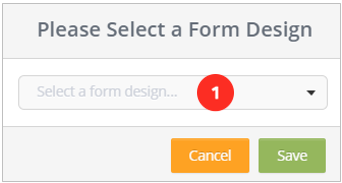
1. List of forms you have created before.
2. After selecting the form, click to save.
Cinema8 Form Tools
Header

1. Header name.
2. Header size.
Paragraph
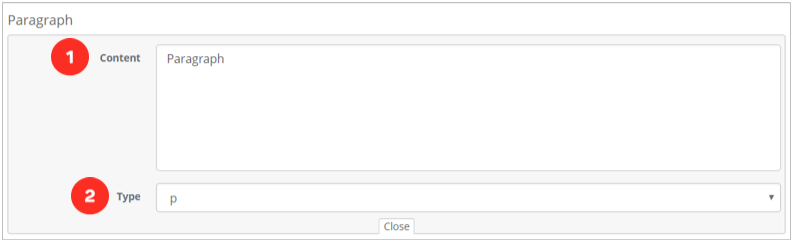
1. Default value when the paragraph tool is displayed.
2. Paragraph type.
Text Field

1. Click if you want to have a required field to fill in the tool.
2. Text Field header name.
3. Inside the Text Field, where you can write help texts to help the viewer.
4. Inside the Text Field, write if you want pale text to appear.
5. Default value of the “Text Field” tool.
6. The type of the "Text Field" tool. For example; By selecting the "password" option, it can be ensured that the values entered in the tool are not visible.
7. Maximum number of characters that can be entered in the Text Field tool.
Number
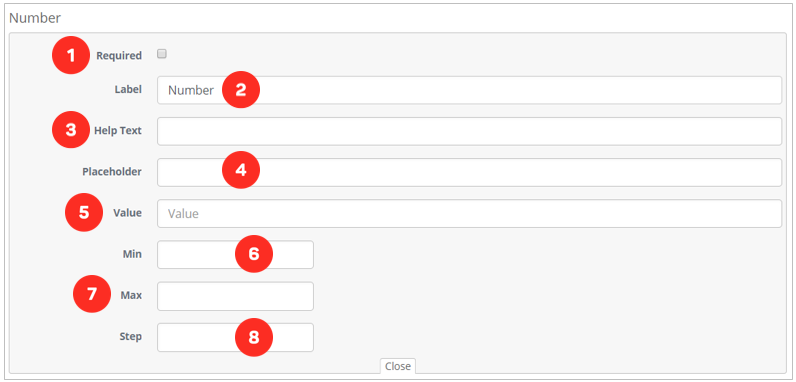
1. Click if you want to have a required field to fill in the tool.
2. Number header name.
3. Inside the Number, where you can write help texts to help the viewer.
4. Inside the Number, write if you want pale text to appear.
5. Default value of the “Number” tool.
6. The minimum value that can be entered into the tool.
7. The maximum value that can be entered into the tool.
8. There are buttons in the "Number" tool that you can increase the value step by step. While each button click increases the value in the tool one by one, if you enter a new value in this field, the tool will now start increasing the values until entered here.
Text Area
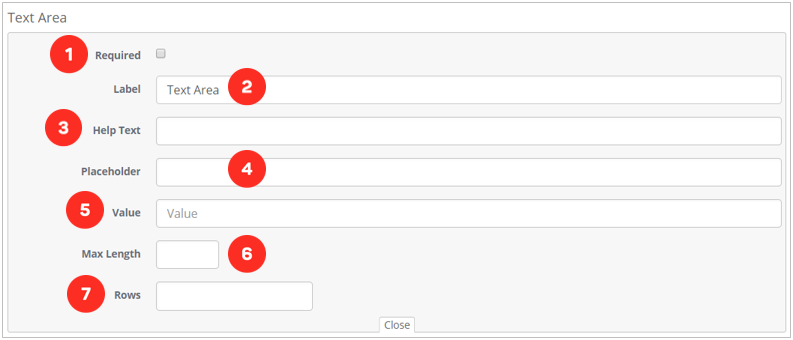
1. Click if you want to have a required field to fill in the tool.
2. Text Area header name.
3. Inside the Text Area, where you can write help texts to help the viewer.
4. Inside the Text Area, write if you want pale text to appear.
5. Default value of the “Text Area” tool.
6. Maximum number of characters that can be entered in the Text Area tool.
7. The area where you will set the default number of lines - height - of the "Text Area" tool.
Select
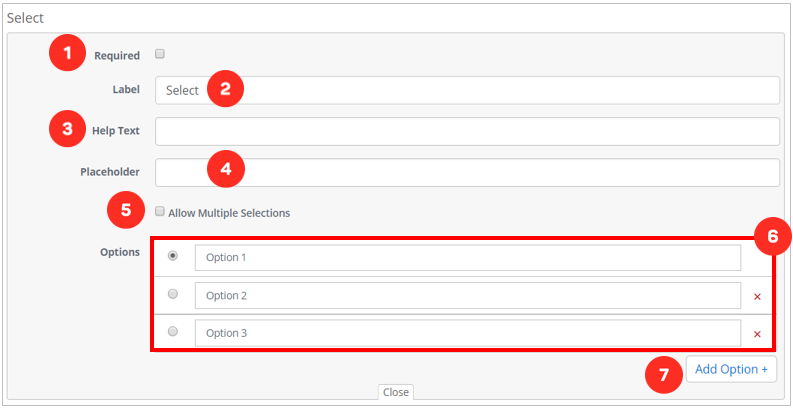
1. Click if you want to have a required field to fill in the tool.
2. Select header name.
3. Inside the Select, where you can write help texts to help the viewer.
4. Inside the Select, write if you want pale text to appear.
5. If you want to give the viewer more than one stylish marking right, you need to activate it.
6. The area where you will create and edit the options of the "Select" tool.
7. Button you need to click if you want to add a new option.
Radio Group
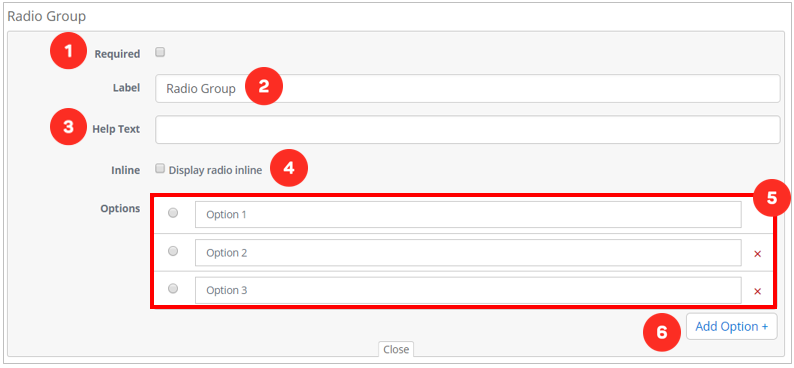
1. Click if you want to have a required field to fill in the tool.
2. Radio Group header name.
3. Inside the Radio Group, where you can write help texts to help the viewer.
4. Select if you want the options to stand on the screen side by side, not in a row, but in a horizontal line.
5. The area where you will create and edit the options of the "Radio Group" tool.
6. Button you need to click if you want to add a new option.
Checkbox Group

1. Click if you want to have a required field to fill in the tool.
2. Checkbox Group header name.
3. Inside the Checkbox Group, where you can write help texts to help the viewer.
4. Select if you want the options to stand on the screen side by side, not in a row, but in a horizontal line.
5. The area where you will create and edit the options of the "Checkbox Group" tool.
6. Button you need to click if you want to add a new option.
Date Field
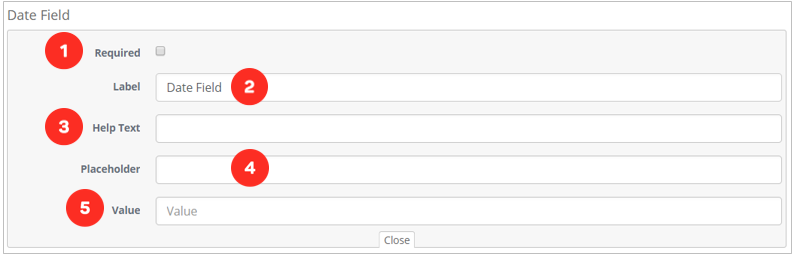
1. Click if you want to have a required field to fill in the tool.
2. Date Field header name.
3. Inside the Date Field, where you can write help texts to help the viewer.
4. Inside the Date Field, write if you want pale text to appear.
5. Default value of the “Date Field Area” tool.
Autocomplete
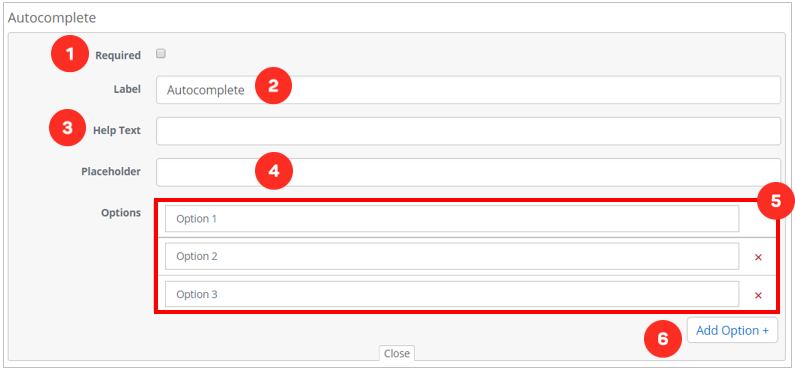
1. Click if you want to have a required field to fill in the tool.
2. Autocomplete header name.
3. Inside the Autocomplete, where you can write help texts to help the viewer.
4. Inside the Autocompletes, write if you want pale text to appear.
5. The area where you will create and edit the options of the "Autocomplete" tool.
6. Button you need to click if you want to add a new option.
Related Articles
What is Video Element in Cinema8
With the Video element, you can add videos on your video in full screen. If you want, you can activate a button where you can allow them to pass the video you put when the time expires. First, we drag and drop our element from the Elements list to ...Interaction Elements & Use Cases
Cinema8 brings an action to your videos with its useful interactive elements. So, what are the purposes of these interactive elements and where can we use them, let's look at them… HTML With the HTML element, you can integrate all the platforms where ...Countdown Element
With the Countdown element, you can add countdown anywhere on your video and trigger actions at the end of the countdown you add. First, we drag and drop our element from the Elements list to the layer. The screen below will meet us. 1. Name the ...Drawing Element
Drawing element allows you to draw on your video. There are 6 different types of drawing in the tool. There are also color options for the drawings you will make. First of all, we drag and drop our element from the Elements list to the layer. Here ...HTML Element
HTML is a system used in the preparation of websites. Browsers mirror the screen by processing HTML codes. So, what can we do in Cinema8 with the HTML element? With the HTML element, you can place all the elements that give embed code (such as ...